Photography and Video – Tips to help tell the SJR State Story
Photography and video are powerful tools that highlight the College’s identity and showcase the SJR State story. Visuals should be clear, authentic and inclusive, reflecting the diversity and spirit of our community. Below are some helpful tips to use when capturing images and video for the College.
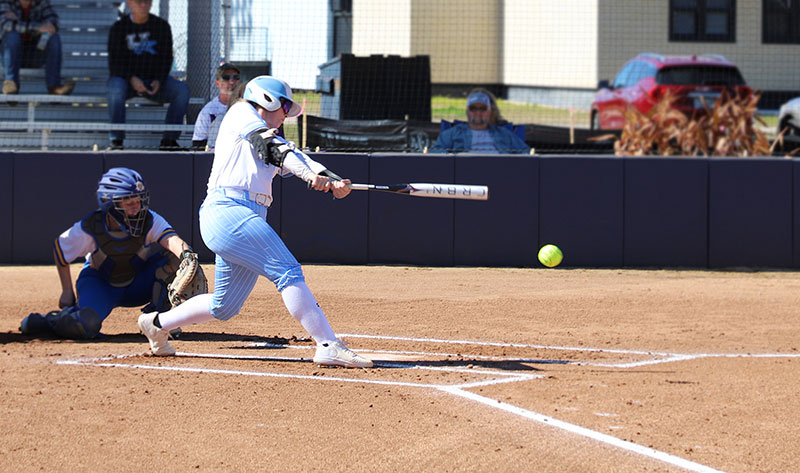
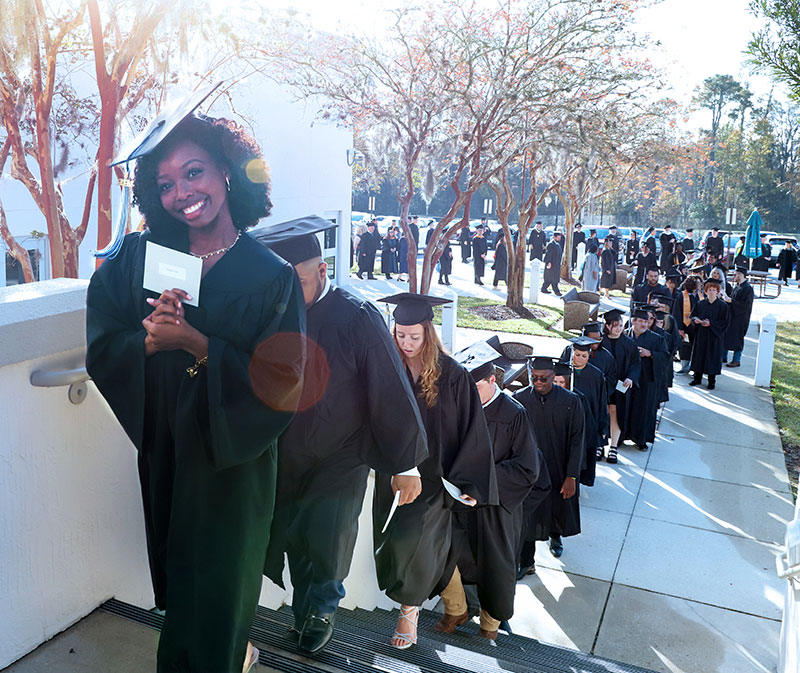
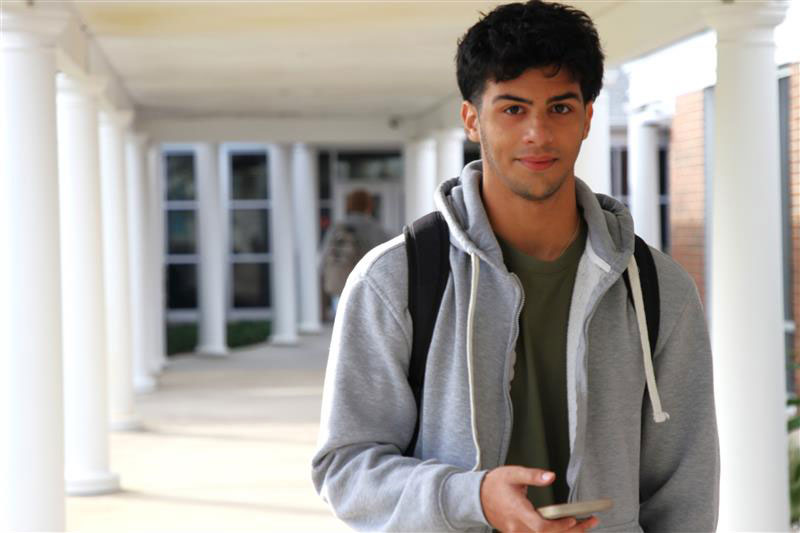
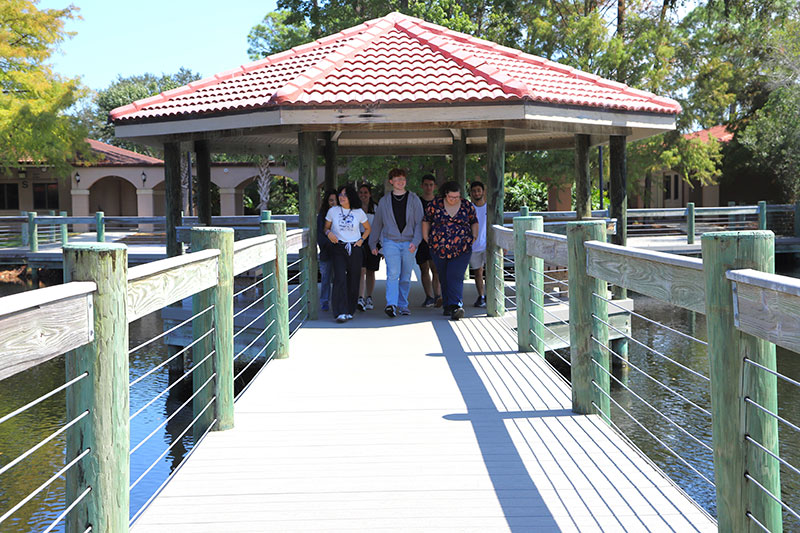
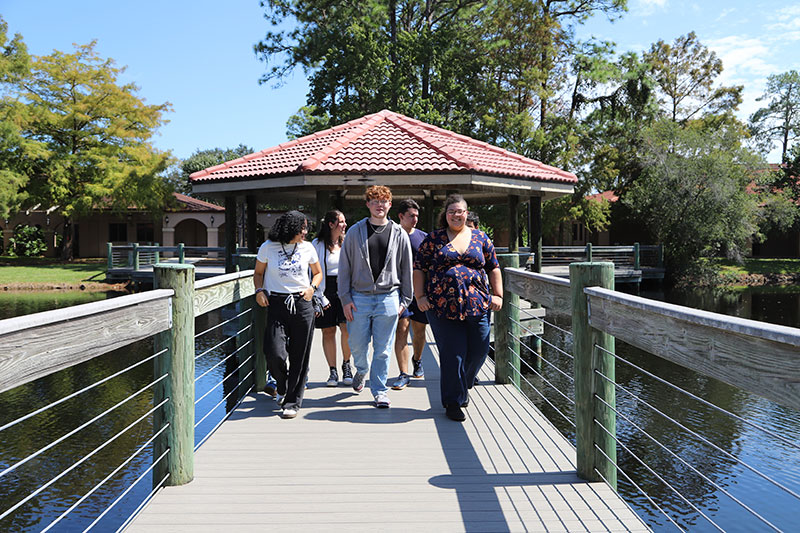
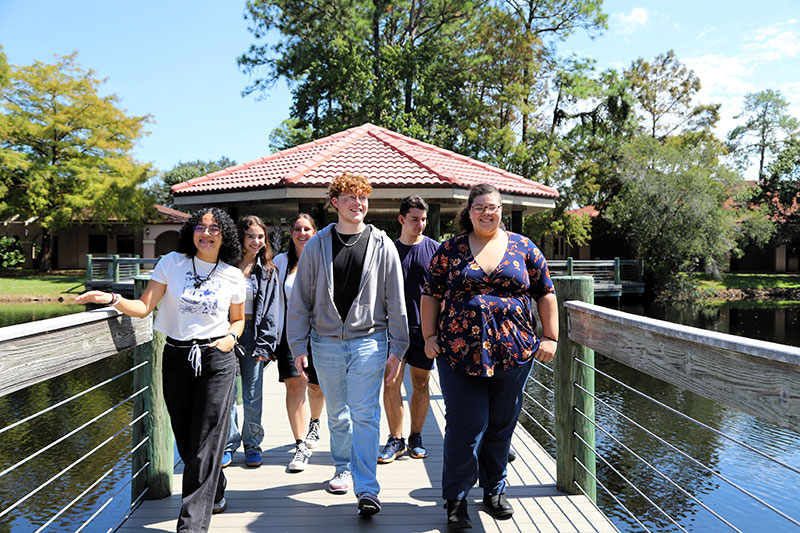
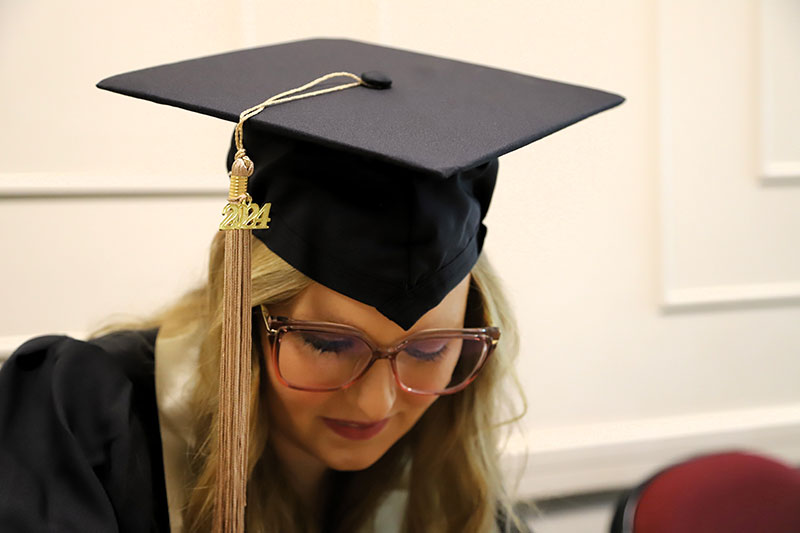
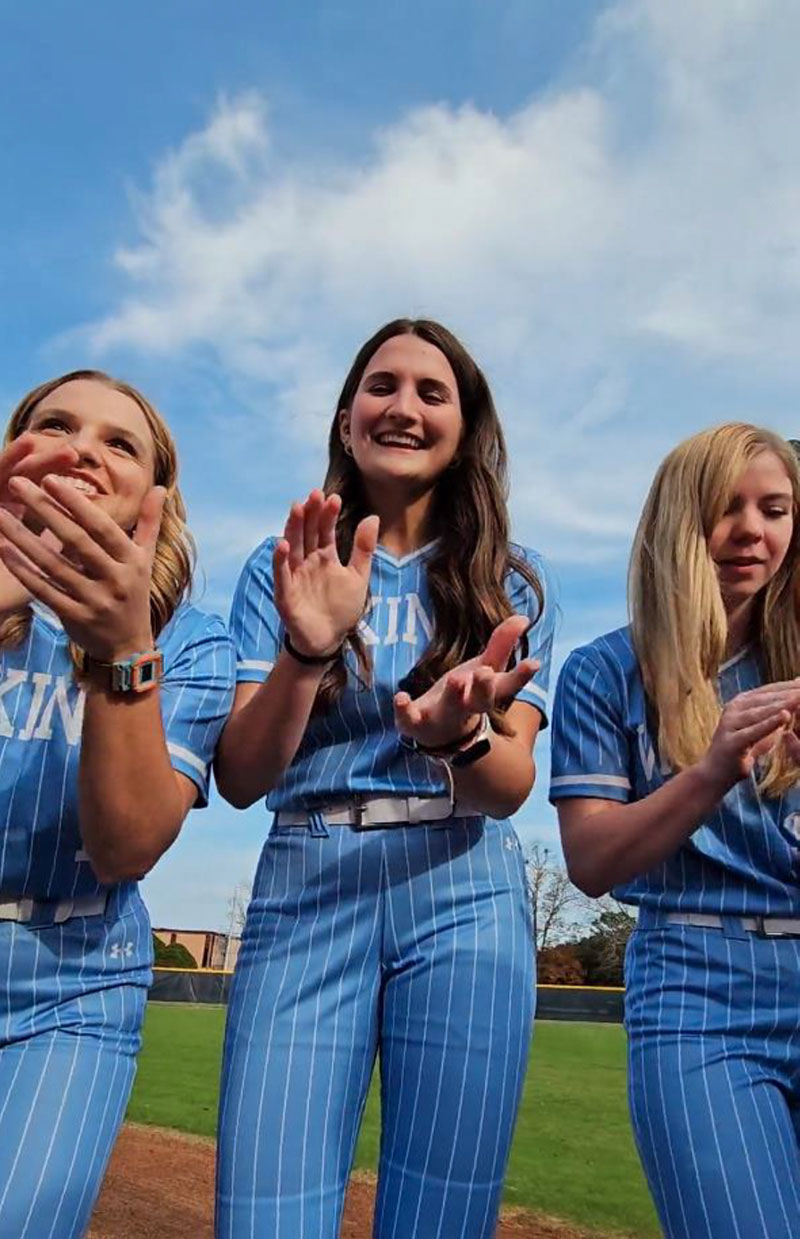
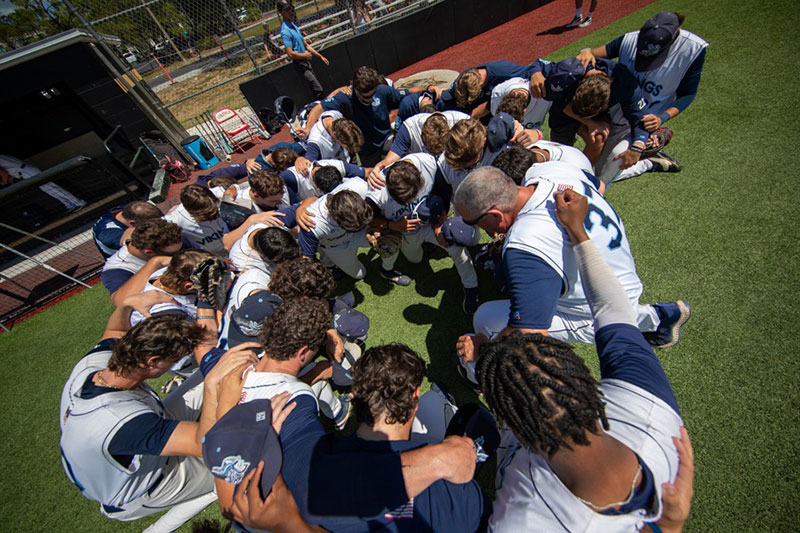
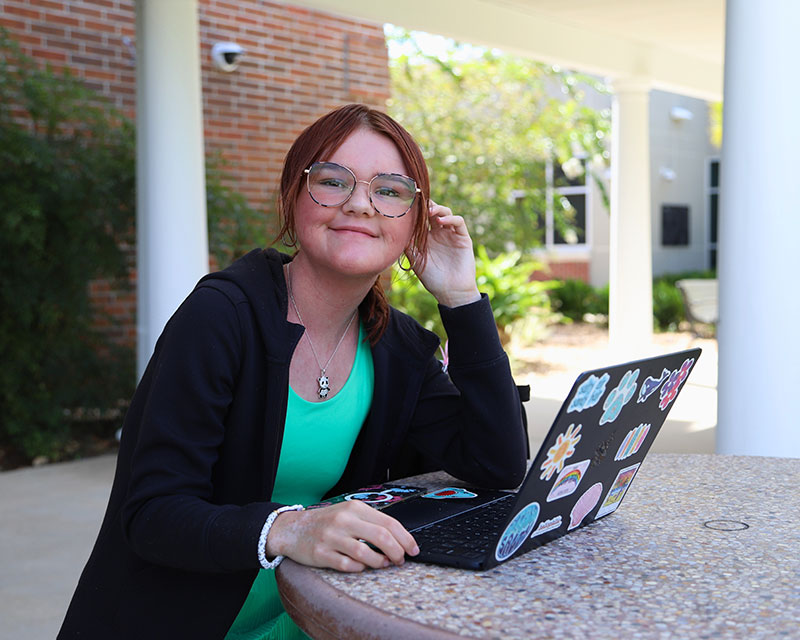
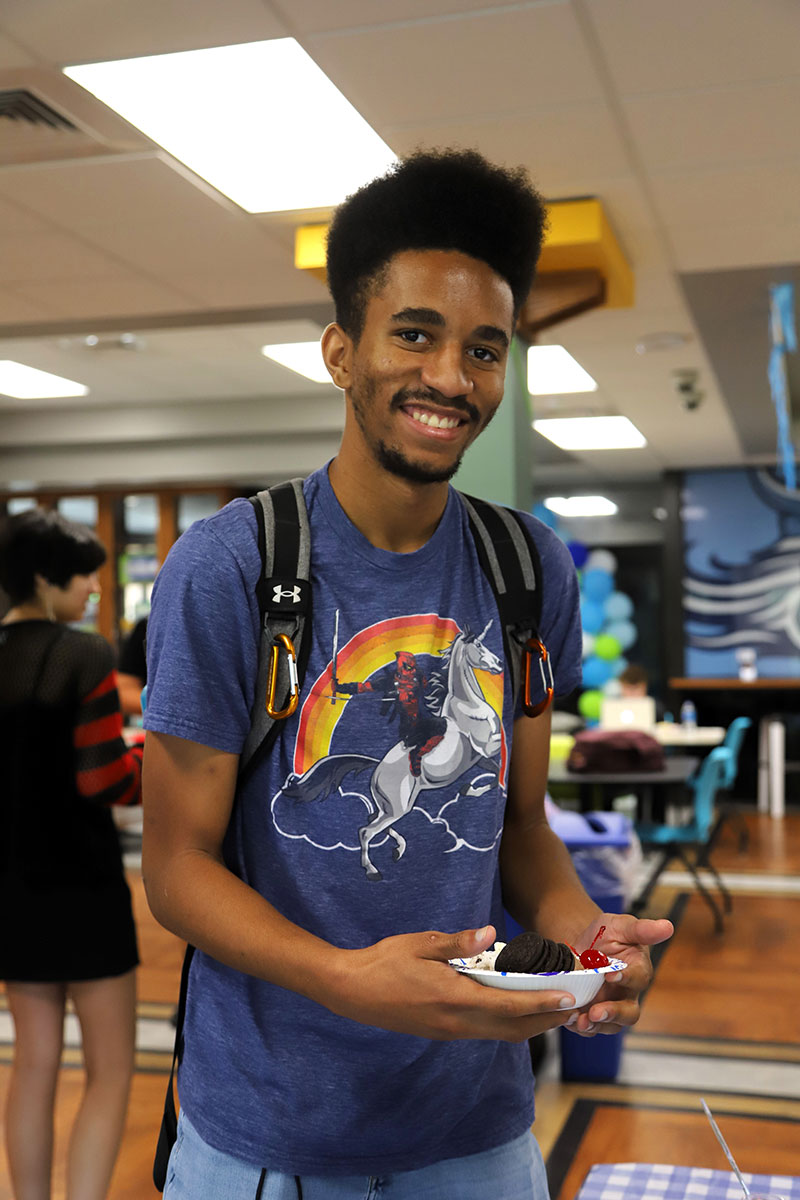
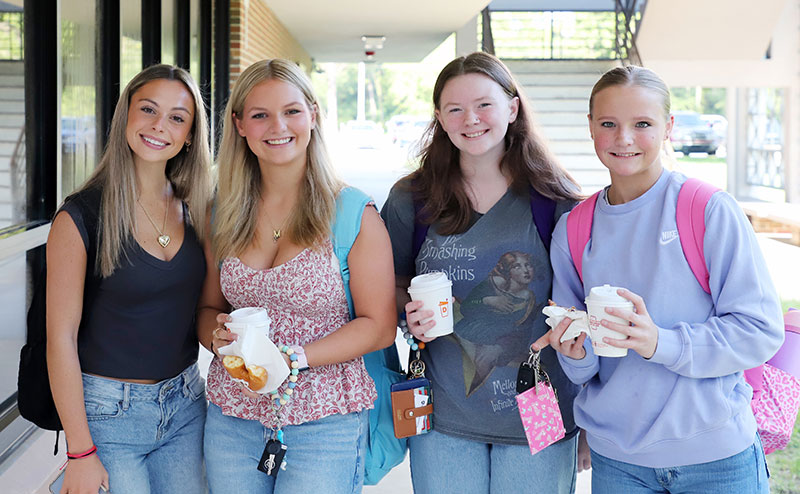
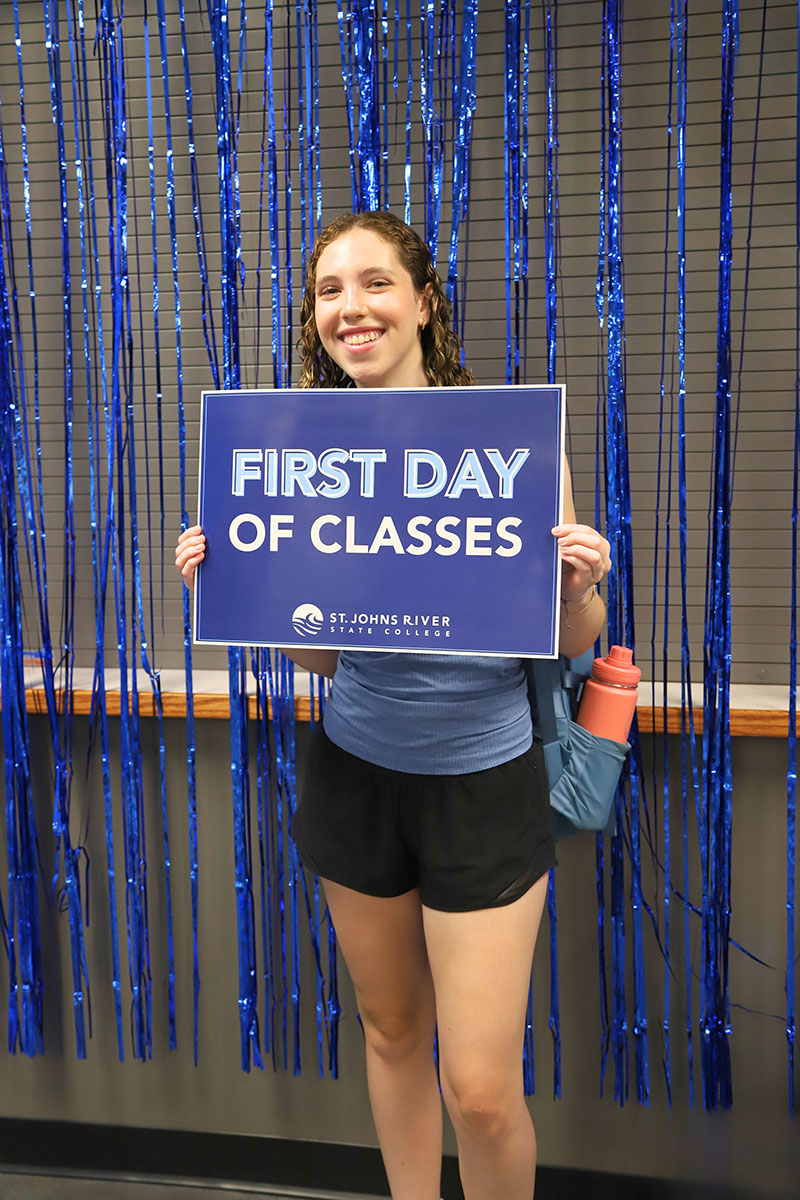
Storytelling: Use images to create compelling visuals by focusing on authentic moments. Capture emotions, colors, details or a series of photos that convey the SJR State story.

Focal Point: Subjects should be defined and clear and pay attention to what’s in the background to avoid distractions from your subject. Avoid showing other brands or large outside logos on clothing, hats or signs.

Composition: Composition is the purposeful arrangement of all visual elements within a camera’s frame to create an impactful image that conveys the SJR State story.
Principles to follow when composing a photograph:
Rule of Thirds: The rule of thirds is a composition guideline that divides an image into nine equal parts using two vertical and two horizontal lines. When taking a photo, place the subject at one or more of the four intersections.


Did you know you can enable grid lines on your smartphone? Follow the instructions below:
iPhone: Settings > Camera > Grid > Toggle on
Android: Camera > Settings > Grid Lines > Toggle on
Framing: Use elements within the scene to create a natural “frame” around the subject. Using doorways or trees to frame the subject can add more depth and context to a photo.

Angle and Perspective: The angle can alter perspective or emphasize certain aspects of the shot. Use close-up shots for details and wider shots to show groups or spaces. Try shooting from different angles to change the perspective. Shoot from a lower perspective or experiment by positioning yourself from a higher vantage point.

Depth of Field: Depth of field is the range of distance within a photograph where the subject appears in sharp focus. A shallow depth of field occurs when only a small part of the image (usually the subject) is in focus and the background and/or foreground appears blurred. This effect is more noticeable when the subject is close to the background or when using a wide aperture on your camera settings. A deep depth of field occurs when most or all parts of the image appear sharp and in focus. This typically happens when the subject is farther away from the background or when using a smaller aperture on your camera settings.

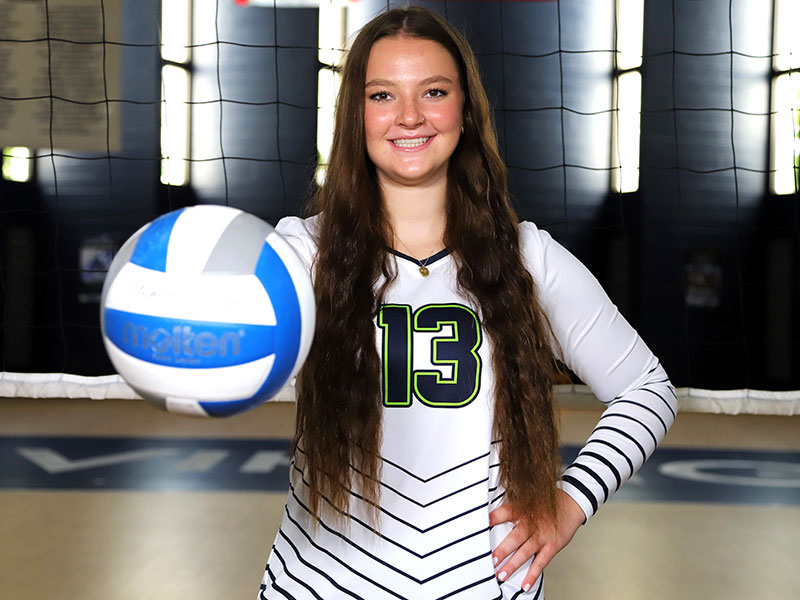
Lighting: The subject should be the brightest part of the photo (unless purposely done otherwise). Find natural light whenever possible and pay attention to the location and intensity of the light source. Avoid partial shadows, and direct and/or harsh lighting.
Orientation: Consider the platform your content will be shared on and expand your options by taking both vertical and horizontal shots of your subject. Use vertical orientation when your subject is taller than it is wide and use horizontal orientation when your subject is wider than it is tall.
Resolution: Photos should be taken in high resolution with a preferred shooting format of 12 MP, 24 MP or higher. Video should be taken in horizontal orientation in 16:9 aspect ratio. Video should be in high definition (HD – 1920x1080 pixels) or 4K with 24 or 30 FPS.
Smartphone Tips: When possible, use the camera on the back of your phone rather than the front-facing (selfie) camera. Avoid manual zoom, which can cause photos to become blurry or grainy. Get closer to your subject whenever possible.
Variety of photos: Capturing a variety of photos increases your chances of getting the perfect shot that tells the SJR State story. It also encourages creative exploration and supports continuous learning to improve techniques.
You can experiment with:
• Shot types: candid, posed, individual, group
• Composition: framing and subject placement, different angles
• Lighting: natural, artificial, directional lighting
Do you have photos or video to submit? Emailing files is the best practice as texting can compress files. Email or text photos or videos to:
Alyssa Alessandria at or (412) 266-0981
Bobby Dye at or (904) 521-2838
Questions? Please contact the Strategic Communications Office (ext. 6883 or 6892)